
| LEVEL | UNIT | Week 01 Boundaries | EQUIPMENT |
| Pre K | Movement | Boundaries show us where it is safe to play. In sport, boundaries tell us where to play the game. During this lesson you will introduce the concept of boundaries. This basic concept will be the basis for all your movement lessons, establishing where it is safe to move and play.
Set up your activity space with the cones and spots as boundaries. Prepare to introduce any equipment that is new to the children, and teach or review this vocabulary: boundary, cone, spot and Safe. Always show an item as you talk about it. Review the activities moving with the children as you show and tell them what they are to do. Even when it seems like what you are doing is very easy, remember it’s often all new for the children. As you use all the activities during the week or over several weeks, you will reinforce and solidify the concept of boundaries, which is important for all movement activities. |
12 -18 Cones or boundary markers, 24 vinyl spots or place markers Music, Music player/speaker, Boundary Station Cards, PPT slides, Projector (onto wall)/TV, mats |
Learning Goals:
- move safely among others as they travel through space.
- travel within the designated boundaries.
- participate actively during the lesson.
- stretch with appropriate form.
- Identify primary and secondary colors, verbally and physically.
| ACTIVITY | TIME | PROCEDURE WITH TRANSITIONS, MODIFICATIONS AND ACCOMMODATIONS | Teaching Tips, Assessments & Differentiation Strategies |
| Entrance Routine | 1< min | 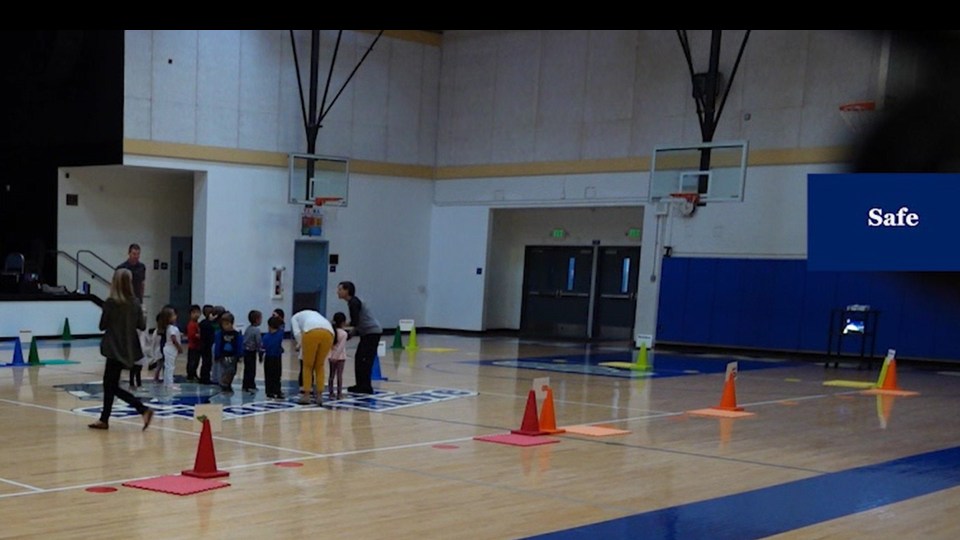 Have the class and stand inside the boundaries near you, where they can see you and the projection. The children should be Standing as a group, inside the space (as opposed to standing around the perimeter of the space or in a long line.) If you are working outside, face the children away from the sun when they look at you. Have the class and stand inside the boundaries near you, where they can see you and the projection. The children should be Standing as a group, inside the space (as opposed to standing around the perimeter of the space or in a long line.) If you are working outside, face the children away from the sun when they look at you. |
|
| Transition | 1 min | Differentiation Strategy
Place a Boundary card on each cone during the lesson to aid your visual learners. |
|
| Part 1 Warm Up | 5-10 min | Safety
Teach the safety rule: Play Safe. Explain that it is important to play and move safely so you don’t hurt yourself or anyone else. Safe traveling means you look where you are moving to, keeping your hands and body to yourself, and lookout for each other . It means looking for spaces to move to where no one else is! Today you will help the children experience safe traveling inside the boundaries, traveling without touching anyone else, and traveling to spaces away from others to be where no one else is. Today’s lesson teaches children one way to be safe—staying inside the boundaries. Safety “These pieces of equipment (cones and vinyl spots) form/make the boundaries for our movement class. A boundary marks and shows us where it is safe to work and play. Are you ready to move inside our boundaries? Let’s try.” “When I say go, move safely with me to the boundary over here. (Choose the closest boundary line to begin with.) The boundary line is the limit, when you get to it, stop, even if I don’t say stop. Ready? Go.” Walk around the inside of the boundaries with the children, showing them the cones and spots. Ask them to name the colors of the cones and spots and the name of the equipment. Every now and then, point out children to look at their feet, when they are inside the boundary; show the children the relationship of their feet to the boundary. Talk about inside and outside the boundary, consistently staying inside the boundaries. Repeat until you have gone all the way around the boundaries. Be sure to point out that the boundaries each have a specific color. This will help you direct the students to a variety of boundaries in the next part of the lesson. Ask the children to move safely to the boundary that you point to and describe by its color, across the activity area. Remind them that the boundary is the limit and when they get there, they are to stop without crossing it. “Ready? Go!” (Move with the children) Use the children that stop inside the boundary as examples to show others what to do. Establish that whenever the children are inside the boundaries, it is a safe place to play. Do this for every boundary, traveling to each of the six different colored boundaries. Repeat this as many times as needed to ensure the children understand what it means to be inside the boundaries. They will have fun. Keep the focus on safety reminding the children to travel safely, look where they are going and to stay in the boundaries. |
Teaching Tip
The safety rules need to be experienced to be learned. Reinforce movement that is safe, in the moment, by pointing out children moving and playing safe, to the rest of the class. Two examples are:
Encourage the students to spread across the boundary. if you use the powerpoint slides, point out the children in the slide are far from each other, spread across the boundary. Connections Holding up a color spot and naming the color is a good way to reinforce learning colors in the classroom. Collect things around the room that are the same color as a spot and place them on the spot. Assessment Strategy Use the boundary identification time to teach or reinforce color by asking the children to name the color as you lift up the cone or spot. Listen for their answers to identify children who may need more directed practice. |
| Transition | <1 min | ||
| Part 2 Boundaries | 10-20 min | 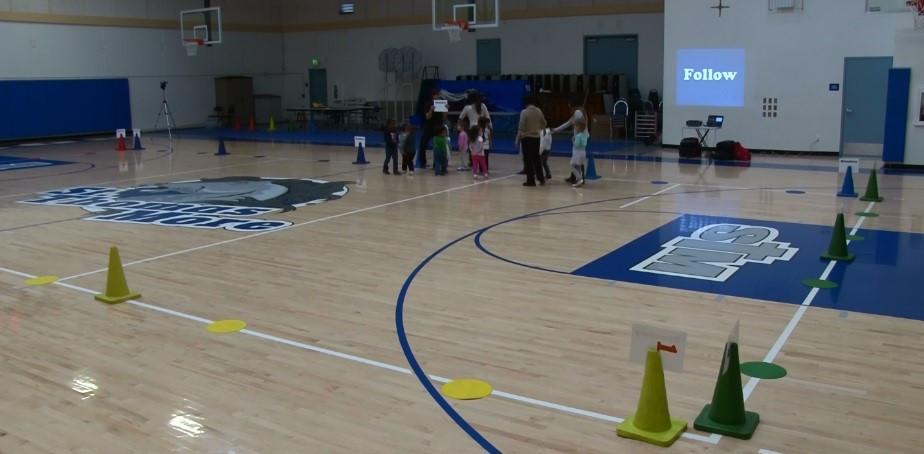 The whole class follows me as we are traveling across from boundary to boundary. The whole class follows me as we are traveling across from boundary to boundary.
Follow the Leader Traveling through the room space, inside the boundaries, moving from boundary to boundary criss cross and zigzag around inside the boundaries. Music: Following the leader from Peter Pan. Show the children the word “Follow”. Explain to the children that the word follow in our game means to travel where the leader travels. You don’t have to travel the same way that the leader travels, but you need to follow the leader all around to the different boundaries. Don’t encourage a line, encourage the children to follow you as you move around inside the boundaries. Explain to the children that you will be the leader and everyone is to follow you. Travel around the space using different ways of traveling, complementing children who stay in the boundaries, and the children who are following you. Describe the things you pass, like the cones and the spots and colors. As you get close to a boundary, reinforce where the boundary is and that you are traveling inside the boundaries. Change the way you travel, encouraging the children to follow you: slow, fast, low, high, walking, jogging, sliding, on your bottom, or like a crab. Describe the different traveling you see the children doing; to encourage the children to try various ways of traveling. |
|
| Transition | 1 min | N/A | |
| Part 3 Practice | 5‐15 min | After you have led them around the boundaries for 1 rotation of the song, choose a child to lead as you continue playing. When you stop to pick another leader, announce to the class who the leader is and tell them that you all will follow them to the different boundaries. You don’t need to officially stop the activity. Keep the music playing and just pick a child to be the leader. You can help them by suggesting a color boundary to move to if they cannot think of one. Ask the leader to take you to a new boundary. When you get there, ask another child to be the next leader to take you to another boundary. Keep choosing new leader until everyone has had a go. The children will have traveled to all the boundaries and you will be able to assess each individual’s general understanding of the boundaries, leading and following. Complement the children that switch to the new leader quickly to create that expectation for the whole group. This will be your chance to observe the children more closely and address individual needs. | Teaching Tip
Choose leaders quickly. Encourage them to choose a color quickly and then go! Assessment Strategy Ask the leader to identify the boundary they are going to lead the class to. Scaffolding Strategy After stopping the children a couple times to change leaders, when you are sure they understand when it’s time to follow a new leader, you can choose new leaders without stopping the movement. Just announce who the new leader is and tell the children to begin following the new leader. |
| Transition | 1 min | Get a mat and put it in an open space inside the boundaries, where you can see the teacher and the projection. | |
| Part 4 Cool Down | 5 min | Have the children gather near you and the video source. Review what you covered today, the equipment and the boundaries, follow the leader.
Stretch the legs with three stretches. Begin teaching the children how to stretch properly and that we stretch because exercise actually causes our muscles to shrink! We stretch them to keep them flexible so they aren’t sore and to prevent injuries. You can even teach your children the names of the muscles as you stretch. |
Connections
Where else can you identify boundaries: on a playing field, on a game board, on the sidewalk and street, sitting at a table with others? |
| Media |
Lesson 1 Boundaries PowerPointLesson 1 Boundaries VideoBoundary Sign PDF |


